The Three-Second Window That Costs You the View
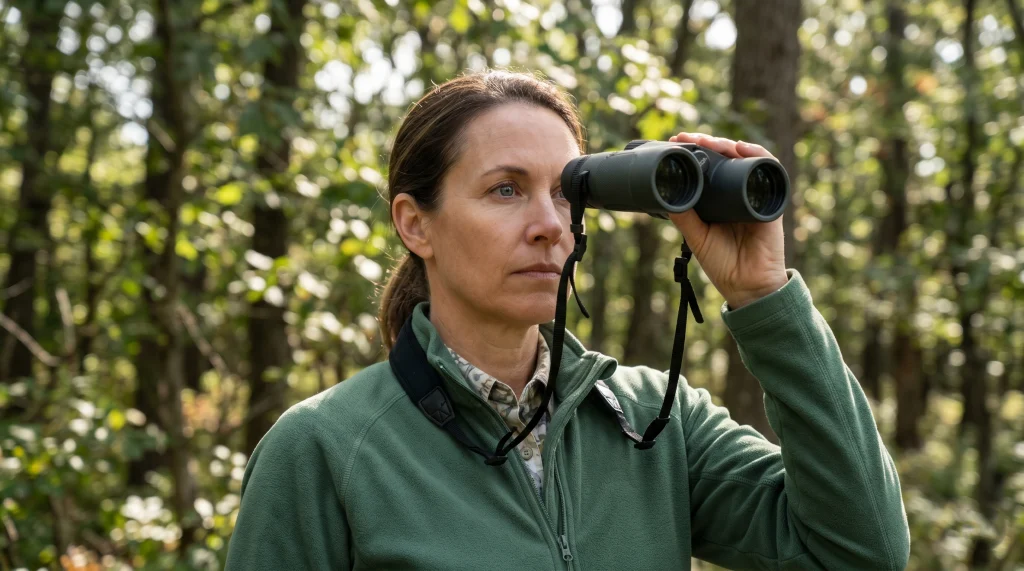
If you want to know how to use binoculars for bird watching, forget about the focus wheel for just a minute. The most common birding frustration I see has nothing to do with internal glass or optical specifications. It is the three seconds it takes to raise the optics to your eyes and find a bird that has already flown away.
This is a universal beginner experience. You spot a flash of yellow in a dense oak tree. You lift your binoculars, look through the eyepieces, and the reference point is entirely gone. You spend the next ten seconds panning back and forth across a sea of confusing green leaves while the bird moves to the next county.
The issue here is not that your optics have a narrow field of view or that the bird is too fast. The issue is a disconnect between your eyes and your hands. The fix requires training yourself to perform a very specific physical motion until it becomes automatic.
How to Find Birds with Binoculars Without Losing Them
When people ask me how to find birds with binoculars, they usually expect a tip about scanning the horizon or tracking movement. The reality is much simpler. You find the bird with your naked eyes first. The binoculars just confirm what you are already looking at.
The core birding binoculars technique relies on a concept called proprioception. This is your body’s ability to know where its parts are without you having to look at them. You do not need to look down at a coffee cup to bring it to your mouth. You should not need to look away from a bird to bring your optics to your eyes.
Field Note: I have watched this confusion play out more times than I can count at the counter. A customer would take a new pair outside to test them on a distant street sign. They would spot the sign, look down at their chest to adjust their grip on the barrels, raise the optics, and then spend ages panning around the sky. The moment you break eye contact with your target to look at your hands, your brain loses the spatial reference.
To stop losing the bird in the branches, you have to memorize a strict sequence of movements. It sounds simple, but in practice, breaking the habit of glancing at your gear takes deliberate effort.
Moving your head or neck forward to meet the eyepieces as you raise them. This shifts your viewing angle downward and guarantees you will lose the bird.
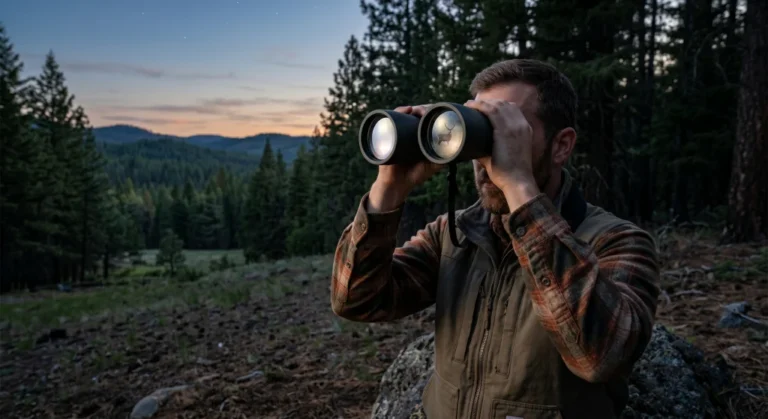
Keeping your head and neck perfectly still. Locking your eyes onto the target, and letting your arms do all the work to bring the eyecups straight into your line of sight.
Here is the exact breakdown of the motion you need to develop:
- Spot the movement or the bird with your naked eye.
- Lock your visual focus on the bird, or the specific cluster of leaves if the bird is hidden.
- Without moving your head or shifting your gaze, bring your hands up to your face.
- Slide the eyecups directly between your eyes and the target.
- Make micro-adjustments with the focus wheel to sharpen the image.

Canon's EF lens image stabilization technology delivers rock-steady views at 12x magnification, while Porro II prisms and a doublet field-flattener produce sharp, distortion-free images edge to edge. The 36mm objective lens provides clear, bright, high-resolution images with improved power efficiency for extended battery life in a compact, portable package ideal for birdwatching and hunting.
Check On AmazonIf you click this link and buy, we earn a commission at no additional cost to you.
Building Muscle Memory Before You Hit the Trail
You cannot learn this technique efficiently while actively birding. When a rare warbler lands ten feet away, your adrenaline spikes and your form falls apart. The best time to master how to use binoculars for birding is inside your living room on a quiet afternoon.
Pick a small, distinct target on the wall. A light switch, a clock face, or a picture frame works perfectly. Stand about fifteen feet away. Stare directly at the target, let your hands hang at your sides, and practice bringing the binoculars up to your eyes without breaking your stare.
Do this twenty times in a row. You will likely find that your initial attempts result in the target being slightly off-center. Pay attention to how your elbows flare or how your wrists angle. Your goal is to train your arms to drop the eyepieces perfectly into your line of sight so that the target is instantly centered the moment the eyecups touch your face.
Key point: Once you have the motion down, test yourself. Close your eyes, point your nose at a target, raise the binoculars to your face, and open your eyes. If the target is not in the center of the image, your mechanics still need tweaking.
Why Your Strap Is Slower Than You Think
Your raising technique is only as fast as the gear hanging off your body. The traditional neck strap that comes in the box with most binoculars is actually a liability for fast acquisition. As you walk, a neck strap allows the binoculars to swing back and forth across your stomach.
When a bird suddenly flushes from the brush, your hands have to hunt for the swinging barrels before you can even begin the raising motion. That fumble costs you a full second.
This is why most serious birders switch to a chest harness. A harness anchors the binoculars securely against your sternum. They do not swing. Your hands always know exactly where the barrels are resting, allowing you to grab and raise them in one fluid, blind motion. If you are struggling with speed, ditching the neck strap for a $25 chest harness often yields a bigger improvement than upgrading your optics.
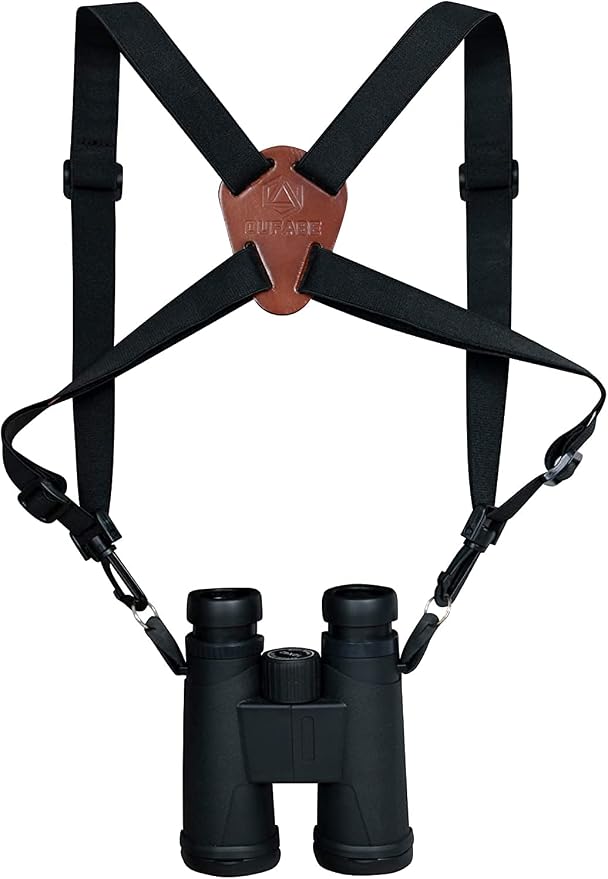
Double-stitched nylon and Lycra construction with premium leather accents delivers maximum durability and a tactical look built to last. The X-shaped shoulder design evenly distributes weight across your shoulders and back, eliminating neck fatigue during extended wear. Fully adjustable straps reduce chest sway and allow quick sliding into viewing position, fitting all binoculars with a half-inch eyelet as well as heavy cameras.
Check On AmazonIf you click this link and buy, we earn a commission at no additional cost to you.
Setting the Trap: The Habit of Pre-Focusing
Once your gear is secured and your raising motion is automatic, you still have to deal with the optics. Even if you master the physical technique, a bird will still look like a blurry smudge if your focus wheel is set to the wrong distance. Fast-moving birds do not wait for you to spin the wheel through its entire rotation. You have to anticipate where they will be.
Pre-focusing is the habit of adjusting your focus wheel to match the depth of your immediate environment before a bird ever appears. This reduces the time it takes to get a sharp image from two seconds down to a fraction of a second. This assumes you have already handled the basic setup for your own vision, which you can read about in my main guide on how to use binoculars properly.
If you are walking into a dense hardwood forest, most of the birds you see will be perched in branches twenty to forty feet away. Spin your focus wheel until leaves at that distance are sharp, and leave it there. When a bird suddenly flits across your path, your optics are already ninety percent dialed in. You only have to make a tiny micro-adjustment to achieve perfect clarity.
| Habitat Type | Expected Distance | Pre-Focus Strategy |
|---|---|---|
| Dense Forest / Woods | 20 to 50 feet | Focus on a mid-canopy branch directly ahead of you. |
| Backyard Feeders | 10 to 20 feet | Focus directly on the feeder or the nearest perching bush. |
| Open Grassland / Fields | 100+ feet | Focus on a distant fence post or tree line. |
| Coastal / Lake Shores | Infinity | Roll the wheel to the farthest focal point to scan the water. |
Every time the terrain changes, your pre-focus distance should change with it. Stepping out of a forest edge and looking over a marsh means you need to immediately roll that wheel out to infinity. Making this a subconscious habit will drastically improve your success rate.

This compact lens pen uses a patented carbon cleaning compound that lifts fingerprints, smudges, and oils with no liquid required, so nothing spills, drips, or dries out. A retractable ultra-soft natural hair brush handles dust removal, and the non-toxic, eco-friendly formula is safe for all coated optics. The ergonomic body and twist-cap activator make it effortless to use in the field.
Check On AmazonIf you click this link and buy, we earn a commission at no additional cost to you.
Tracking: Following a Bird in Motion
Getting your optics onto a perched bird is step one. Keeping them on a warbler that is actively hopping through the canopy is a different skill entirely. When a bird moves, your instinct is to violently swing the binoculars to chase it. This usually results in losing the bird completely in a blur of motion.
The correct technique for tracking moving birds is to “lead” the target, much like a quarterback throwing a football to a running receiver. Instead of panning the binoculars to where the bird currently is, observe its trajectory and pan smoothly to the next open branch it is heading toward. Wait for the bird to enter your field of view.
If the bird takes flight, rely on your core, not your wrists. Keep your elbows tucked in against your ribs and rotate your torso to follow the flight path. Panning with your wrists creates a jerky, unstable image. Panning with your upper body keeps the binoculars locked in relation to your eyes, providing a much smoother view of a bird on the wing.
The Clock Method: Getting Other People on the Bird
Bird watching is often a social activity, and nothing is more frustrating than seeing an incredible species while your companion stares blankly at the wrong tree. Pointing your finger and saying “it’s right there in the green leaves” is useless in a forest.
Experienced birders use the clock method to communicate locations rapidly. You establish an obvious landmark as the center of the clock (the trunk of the largest tree, a dead snag, a specific fence post). You then use clock positions and distance to guide their eyes.
Instead of vague directions, you say: “Look at the large dead oak in the center. Go to two o’clock. Halfway out on the thick branch.” This gives the other person’s naked eyes a precise grid to follow. Once they spot the bird naturally, they can execute their own raising technique. Never try to talk someone onto a bird while they are already looking through their binoculars; the field of view is too narrow to navigate blindly.

Fully multi-coated optics and BAK-4 prisms deliver crisp, high-contrast, color-accurate images in bright and low-light conditions alike. Rated IPX7, argon-purged, and O-ring sealed, they handle full submersion and the toughest outdoor elements. At just 1.25 lbs, the rubber-armored body is easy to carry all day, and the package includes an upgraded universal smartphone adapter and a 360-degree swivel tripod for hands-free photo capture.
Check On AmazonIf you click this link and buy, we earn a commission at no additional cost to you.
Why Your Binocular Specs Affect Your Acquisition Speed
While technique solves most acquisition problems, the equipment itself plays a supporting role. The wider your field of view (FOV), the larger the window you have when you first raise the optics. This is a highly practical factor that many people overlook when reading spec sheets.
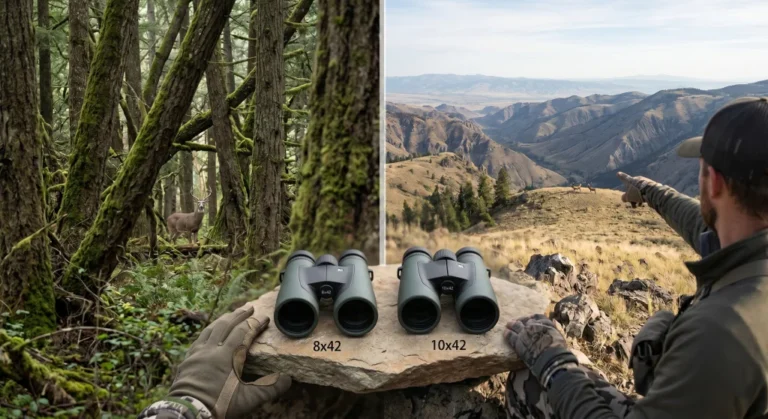
For example, an 8×42 configuration typically provides a 15 to 25 percent wider viewing angle than a 10×42 model from the exact same product line. That is a massive difference in field conditions.
When you raise an 8×42 to your eyes, even if your physical raising technique is slightly sloppy, that wider window is much more likely to capture the bird somewhere on the edge of the glass. With a 10×42, that same sloppy raise leaves you staring at empty bark. If you aren’t sure how these numbers dictate your field of view, my main overview on binoculars explained breaks down the math behind the optics.
When to Drop the Optics Completely
One of the most practical bird watching binoculars tips I can give you is knowing when not to use them at all. Every pair of optics has a minimum close focus distance. This is the absolute closest point the internal lenses can converge to create a sharp image.
For most birding models, this sits somewhere between five and eight feet. If a curious chickadee or a hummingbird buzzes into a branch just four feet from your face, you will physically not be able to focus on it. Many beginners will frantically spin the wheel, get frustrated, and miss the experience.
If a bird crosses inside your minimum focus threshold, simply lower the optics. Your naked eyes are incredible instruments at close range. Enjoy the proximity. Once the bird flies to a farther branch, you can execute your raising technique and lock back on.

The definitive field guide to North American birds, featuring nearly 7,000 digitally remastered paintings reproduced 15 to 20 percent larger for better detail, plus over 600 new illustrations covering 115 rare species and regional populations. Expanded text adds habitat information, voice descriptions, and field-finding tips for every species, alongside 700 updated range maps and revised taxonomy with current common names. An essential, thoroughly updated reference for birders of every level.
Check On AmazonIf you click this link and buy, we earn a commission at no additional cost to you.
Final Thoughts: Making the Optics Disappear
The ultimate goal of all these techniques is to make your binoculars feel like an extension of your own vision, rather than a clumsy tool you have to wrestle with. When your raising mechanics are automatic, your pre-focusing becomes second nature, and your chest harness keeps your gear right where you need it, the friction of birding vanishes.
You stop thinking about the gear and start genuinely observing the wildlife. If you are still deciding on the right pair to build these habits with, my complete guide to binoculars for bird watching breaks down exactly which features matter most for different habitats, so you can pair good technique with the right glass.
FAQs
🦅 How do I stop losing birds when I raise my binoculars?
The trick is to never take your eyes off the bird. Keep your gaze locked on the target and bring the binoculars up to your face, rather than looking down to grab them.
🌲 What is the best magnification for finding birds quickly?
An 8x magnification is generally the best for finding birds quickly. It provides a significantly wider field of view than a 10x, creating a larger window that makes it easier to catch a bird in the frame.
👓 Can I use this raising technique if I wear glasses?
Yes. Make sure your eyecups are fully retracted so you get the full field of view, as explained in our guide on how to use binoculars with glasses. The physical motion of locking your gaze and raising the barrels remains exactly the same.
⚙️ Should I adjust the focus wheel while bringing the binoculars to my eyes?
No, keep your hands steady while raising them. Adjust the focus wheel only after the eyecups are resting against your face and you have the bird in your sight picture.