The Setup That Changes Everything
If you want to know how to use binoculars effectively, you have to start before you even look at your target. Over my years at the optics counter, I watched countless frustrated customers bring back expensive glass, claiming the lenses were defective or blurry. Almost every single time, the binoculars were perfectly fine. The customer just did not know how to set them up for their own eyes.
A binocular is not a television screen that looks the same to everyone in the room. It is a precision optical instrument that must be calibrated to your specific facial structure and visual acuity. When you take a new pair out of the box, they are set to a factory neutral position. If you just pull them out and start spinning the center focus wheel, you are forcing your eyes to work overtime to correct the uncalibrated image.
This lack of setup is exactly why so many people get headaches after looking through optics for an extended period. Your brain is trying to stitch together two mismatched images. In my experience, a cheap pair of binoculars calibrated perfectly to your eyes will often look sharper than a premium pair that was never set up correctly. The good news is that this calibration is fast. It involves four specific steps, and you only have to do the hardest one once.
Key point: Do not try to calibrate your optics while looking at a moving target. Do this in your backyard or at a trailhead while looking at a stationary object like a street sign or a tree trunk at least fifty yards away.
Step 1: Matching the Barrels to Your Eyes (IPD)
The very first thing you need to adjust is the physical distance between the two optical barrels. This is called the interpupillary distance. Everyone has a different distance between their left and right eye. If the binocular barrels do not perfectly align with your pupils, you will never see a clear image, no matter how much you adjust the focus.
To set this, hold the binoculars up to your eyes and look at a bright, distant scene. Grab both barrels and physically hinge them open or closed. You are looking for a very specific visual result. If the barrels are too far apart or too close together, you will see two separate overlapping circles, or you will see thick black edges creeping into the sides of your view. Those black edges are the internal walls of the optical tubes blocking your line of sight.
Keep adjusting the hinge until those black edges disappear completely. The two overlapping circles will suddenly merge into a single, perfect, unbroken circle of light. When you hit that exact spot, stop. That is your interpupillary distance. Most quality binoculars have a numbered scale on the center hinge. I highly recommend memorizing your number so you can instantly reset it if someone else borrows your glass.

Fully multi-coated lenses and phase-coated BaK-4 prisms deliver bright, crisp, color-accurate images across all lighting conditions, with a wide 7.4 degree field of view for easy tracking. The rubber-armored polycarbonate body is waterproof, nitrogen-purged, and tripod-adaptable for extended sessions. Backed by a Celestron Limited Lifetime Warranty and US-based support.
Check On AmazonIf you click this link and buy, we earn a commission at no additional cost to you.
Step 2: The Diopter Adjustment (The Step Almost Everyone Skips)
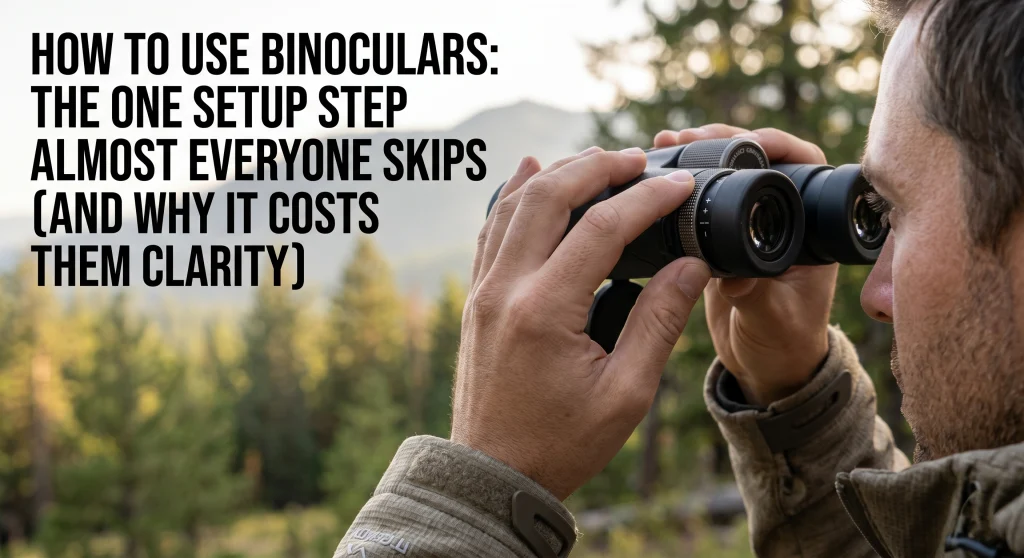
This is the most critical part of the setup process for beginners, and it is the one step almost everyone gets wrong. If you only take one piece of advice from this entire guide, make it this one. Understanding how the diopter adjustment works requires understanding a basic fact about human biology. Your left eye and your right eye do not have the exact same visual acuity. One eye is almost always slightly stronger or weaker than the other.
If you only use the center focus wheel, you are moving the internal focus lenses of both barrels equally. If your eyes do not match, one image will be sharp and the other will be slightly soft. The diopter ring exists specifically to correct this difference.
It is usually located just below the right eyecup. However, on most binoculars, it is completely unlabeled. Because there are no obvious markings, most people mistake it for just another eyecup adjustment or a decorative housing ring. That is exactly why this critical step gets skipped. Here is the exact sequence to set it.
Leaving both eyes open, spinning the center wheel until the image looks okay, and then randomly twisting the right-eye ring hoping it gets sharper.
Isolating the left eye, finding perfect focus with the center wheel, then isolating the right eye and matching that focus using only the diopter ring.
First, find a stationary object about fifty yards away with sharp contrast, like text on a sign or bare tree branches against the sky. Close your right eye, or better yet, use a lens cover to block the right objective lens. With only your left eye looking through the left barrel, spin the center focus wheel until the image is razor sharp. Do not touch the center wheel again.
Now, switch eyes. Cover the left lens and look through the right barrel with your right eye. The image will likely look slightly fuzzy. Leave the center wheel alone. Instead, twist the unlabeled diopter ring under the right eyecup until the image becomes perfectly sharp. You have now compensated for the difference between your two eyes. Once this is set, you never need to touch the diopter ring again unless your eyesight changes. From now on, the center focus wheel will adjust both barrels simultaneously, keeping them perfectly synced for your specific vision.
Field Note: One of the most common things I heard at the counter was customers complaining about a “broken” focus wheel on the right side. They had been trying to use the diopter ring as a secondary focus knob for different distances. I would lock their diopter in place, put a piece of tape over it, and tell them to only use the center wheel. The difference in their viewing comfort was immediate.
Step 3: Setting the Eyecups for Your Face
The eyecups are not just comfortable rubber bumpers. They are mechanical spacers designed to place your eye at the exact focal point of the ocular lens. If your eye is too close or too far away from the glass, you will lose the edges of your image and see a dark vignette effect. Setting them up correctly is binary and depends entirely on whether or not you wear corrective lenses.
If you do not wear glasses, you need to twist or pull the eyecups all the way out to their fully extended position. This creates the necessary physical space between your eye and the lens. If you wear eyeglasses or sunglasses while viewing, your glasses are already creating that physical space. If you leave the eyecups extended with glasses on, your eyes will be pushed too far back. You need to twist or fold the eyecups all the way down until they are flush with the housing.
I have watched this confusion play out more times than I can count. A customer with glasses complains that they can only see a tiny tunnel of light in the center of the optic. Pushing the eyecups down fixes the problem instantly.
Note: If you have the eyecups folded completely down and still see a dark ring while wearing glasses, the optic itself likely does not have enough eye relief designed into it. For a deeper dive into how eye relief numbers work on a spec sheet, my main guide on binoculars explained breaks down exactly what dimensions to look for before you buy.

Fully multi-coated lenses with BAK-4 prisms and broadband green film boost light transmission over 95% for true color, edge-to-edge sharpness across a wide 289 foot field of view even at dawn or dusk. Oversized 26mm eyepieces with 14mm eye relief deliver a wider, more immersive view than standard binoculars while fully accommodating eyeglass wearers. At just 1.34 lbs with a water-resistant ABS chassis and non-slip rubber armor, they are built for all-day carry with a tripod-ready socket and 16.4 foot close focus distance.
Check On AmazonIf you click this link and buy, we earn a commission at no additional cost to you.
Step 4: How to Focus Binoculars in the Field
Once your instrument is calibrated to your face, you have to learn how to focus binoculars efficiently in the field. Beginners often make the mistake of raising the optic to their eyes and then frantically spinning the center wheel back and forth trying to find their target. By the time they lock in the focus, the bird has flown away or the deer has stepped back into the timber.
The trick is learning to pre-focus. As you walk into a new environment, look at the terrain. If you expect a bird to land in a tree twenty yards away, focus the binoculars on the bark of that tree right now. If you are scanning a ridgeline a quarter mile away, focus on a rock on that ridge. When the animal finally appears, your glass is already ninety percent of the way there. You only have to make a tiny micro-adjustment to get a sharp image, rather than spinning through the entire focal range.
Speed of acquisition is another major hurdle. The instinct is to look down at the binoculars, lift them to your face, and then try to find the animal through the lenses. This almost never works. The correct technique is to lock your naked eyes onto the target. Do not look away. Bring the binoculars up into your line of sight without moving your head or breaking your gaze. If you do this correctly, the target will magically appear dead center in your view every single time.
Pro Tips: Use your index finger for the focus wheel, not your middle finger. It offers far more fine motor control.
How to Hold Binoculars to Eliminate Shake
Getting the focus right is only half the equation. The other half is keeping the image steady once you have it. Even with perfect focus, a shaky image will ruin your ability to resolve fine details. At 8x or 10x magnification, every tiny tremor in your hands is amplified. Most people hold binoculars near the eyepieces and let their elbows float freely away from their body. This is the least stable position possible.
To create a stable viewing platform, grip the binoculars further down the barrels toward the objective lenses. This balances the weight much better. Next, tuck your elbows firmly against your ribcage. By locking your arms against your torso, you use your core to support the weight rather than just your shoulder muscles.
If you are using a standard neck strap, you can employ the tension method. Push the binoculars slightly forward against the strap so it pulls tight against the back of your neck. This creates a rigid triangle between your neck, your arms, and the optic, significantly reducing image bounce. For extended glassing sessions where you cannot use a tripod, resting your elbows on your knees while sitting or bracing your shoulder against a tree trunk are the best ways to completely eliminate fatigue.

This nylon and Lycra shoulder harness distributes the weight of your binoculars, rangefinder, or camera across both shoulders for fatigue-free all-day carry. Gear stays snug against your chest without jostling, and smooth straps allow quick, easy sliding into viewing position whenever needed. Fully adjustable and one-size-fits-all for simple attachment to most devices.
Check On AmazonIf you click this link and buy, we earn a commission at no additional cost to you.
Dealing with Temperature Changes and Fogged Lenses
One of the most frustrating things that can happen in the field is raising your perfectly focused binoculars only to see a milky white wall. Fogging happens when you move optics between extreme temperatures, like stepping out of a warm truck cabin into the freezing morning air. The warm air holds moisture that rapidly condenses on the cold glass.
When this happens, the worst thing you can do is wipe the lenses with your sleeve. The fog will just return three seconds later, and you risk scratching the optical coatings. The only real solution for external fogging is patience. You have to let the physical glass acclimate to the outside temperature. I always recommend leaving your binoculars outside or in your vehicle with the windows cracked for ten minutes before you actually need to use them in the cold.
There is a major difference between external and internal fogging. External fogging on the outside glass is normal physics. Internal fogging, where moisture gets trapped inside the optical tubes, means the waterproof seals have failed and the nitrogen or argon gas has leaked out. If your binoculars fog up on the inside, no amount of acclimation will fix it. They need to be sent back to the manufacturer for repair.
The Right and Wrong Way to Clean Binocular Lenses
After a few days in the field, your lenses will inevitably collect dust, pollen, or water spots. How you handle this dictates how long your binoculars will last. I have seen hundreds of dollars of premium lens coatings permanently ruined because someone used their t-shirt or a fast-food napkin to rub a smudge away.
Modern binocular lenses have microscopically thin anti-reflective coatings applied to them. Paper towels are made of wood pulp, which is highly abrasive. Your t-shirt is full of trapped dust and sweat. Using either of these is basically taking fine sandpaper to your optics. Here is the correct process to clean your glass without destroying it:
- Remove the abrasive grit first: Never wipe a lens before blowing off the loose dust. Sand and dirt act like microscopic rocks. Use a manual air blower or a soft optical brush to clear the surface.
- Use the right material: Only use a clean microfiber cloth specifically designed for camera lenses or optics. Keep it sealed in a plastic bag when not in use so it does not collect dirt in your pocket.
- Apply liquid only when necessary: If you have dried water spots or oily eyelash smudges, the “breath and rub” method is risky if there is still grit present. Use a dedicated lens cleaning solution. Apply a drop to the cloth first, never directly onto the glass, and wipe gently in a circular motion.
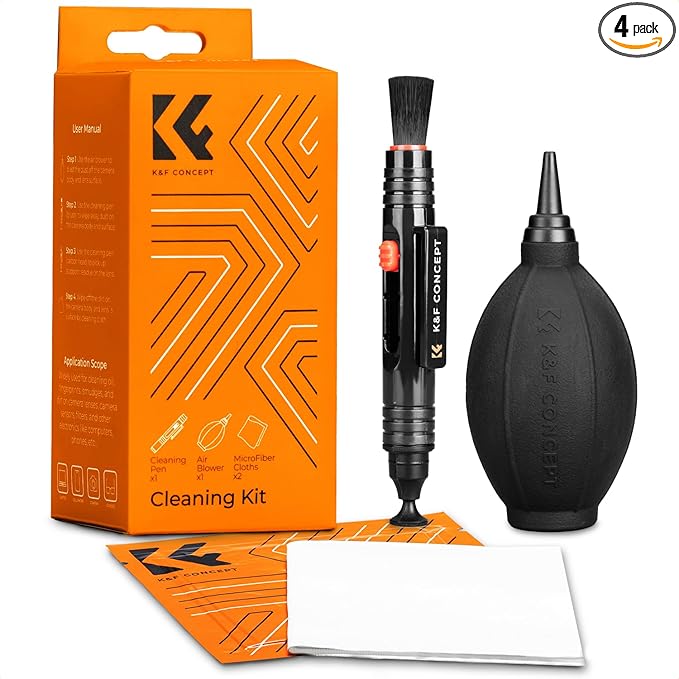
This compact kit includes a silicone air blower with one-way intake for safe, high-volume dust removal, a dual-ended lens pen with a soft brush and carbon head for lifting fingerprints and grease from hard-to-reach areas, and two individually vacuum-packed microfiber cloths for streak-free cleaning on lenses, sensors, and screens. Safe for coated lenses, camera sensors, and all delicate electronics surfaces.
Check On AmazonIf you click this link and buy, we earn a commission at no additional cost to you.
Diagnostic Checklist for Common Visual Issues
Even after learning how to use binoculars properly, things can shift in your bag or get bumped during a hike. If your image suddenly looks wrong, it is rarely a mechanical failure. It is almost always a setup variable that got knocked out of place. Use this matrix to identify and fix the issue quickly.
| Visual Problem | Likely Cause | How to Fix It |
|---|---|---|
| Double image or overlapping circles | Interpupillary distance is wrong | Adjust the center hinge until you see one single circle |
| Black rings or clipped corners | Eyecups are in the wrong position | Extend if not wearing glasses. Retract if wearing glasses |
| Aching eyes or headaches after twenty minutes | Diopter is not calibrated | Recalibrate the right-eye diopter ring to match the left eye |
| Left eye is sharp, right eye is blurry | Diopter ring got bumped | Repeat the diopter calibration sequence |

This compact adapter mounts virtually any binoculars to a standard tripod using a quarter-inch 20 screw thread, including models without a threaded tripod socket. A simple, no-fuss solution for shake-free extended viewing sessions.
Check On AmazonIf you click this link and buy, we earn a commission at no additional cost to you.
Final Thoughts: Trust the Process
The difference between a frustrating glassing session and a brilliant one usually comes down to the one minute you spend in the parking lot. Take the time to get your IPD matched, lock in your diopter, and position your eyecups correctly for your face. Once you build the muscle memory for the setup process, it becomes second nature. Your eyes will relax, your field of view will open up, and you will finally see what your optics were actually built to deliver.
FAQs
🎯 What is the textured ring under the right eyecup for?
That is the diopter adjustment. It allows you to focus the right barrel independently to compensate for the natural difference in visual strength between your left and right eye.
👁️ Why do my eyes hurt after looking through my binoculars?
Eye fatigue or headaches are almost always caused by an incorrect diopter setting. Your brain is straining to stitch together a sharp image from one eye and a blurry image from the other.
👓 Can I use binoculars while wearing my glasses?
Yes, but you must twist or fold the rubber eyecups completely down first. You also need a pair with at least 14 to 15 millimeters of eye relief so you can see the entire field of view.
🔭 Why am I seeing two overlapping circles instead of one image?
The hinge in the center of the binoculars is set too wide or too narrow for your face. Grab both barrels and physically move them closer together or further apart until the image merges into a single circle.
🦅 How do I find a bird quickly before it flies away?
Lock your naked eyes on the bird first. Do not look down or look away. Keep staring at the bird and bring the binoculars straight up into your line of sight.