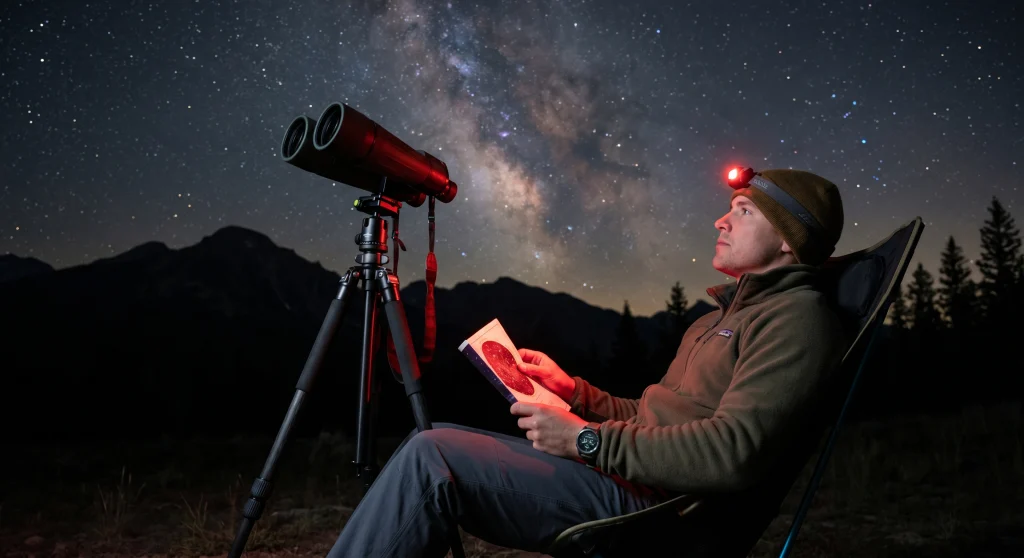
The 20-Minute Mistake Most Beginners Make
When someone asks me how to use binoculars for stargazing, my first question is never about the size of their objective lenses. My first question is about what they do with their phone while they are standing in the dark. In my experience at the optics counter, the biggest barrier to seeing the night sky is not cheap glass. It is a fundamental misunderstanding of how human vision works.
I have watched this exact scenario play out constantly. A customer buys a solid pair of 10×50 binoculars. They go out to their backyard on a clear night, look up, and see almost nothing. Frustrated, they pull out their smartphone to open a stargazing app, stare at the bright screen to find a constellation, and then look back through the binoculars. The sky looks even darker than before. They assume the binoculars are defective.
The binoculars are doing their job perfectly. The lenses are gathering light and transmitting it to the eyepieces. The failure point is the human eye, which has just been blinded to faint light by the glare of a smartphone screen. If you do not manage your own vision, you are wasting the optical power you paid for.
Field Note: A few years ago, a guy brought a premium 10×50 back to my counter for a return. He told me the glass was cloudy and he couldn’t see any stars. I asked him to walk me through his setup. It turned out he was standing directly under his bright garage security light while trying to glass the Milky Way. His eyes were adjusted for broad daylight while he was trying to look into deep space.
Why Your Eyes Matter More Than the Glass
To understand how to fix this, you have to know a little bit about the biology of your eyes. Human vision relies on two main types of photoreceptor cells. Cone cells handle daylight and color. Rod cells handle night vision and faint light detection. When you step from a brightly lit house into a dark backyard, your cone cells shut down, but your rod cells need time to activate.
This process is called dark adaptation. It takes the average person twenty to thirty minutes in near-total darkness for their rod cells to fully wake up. Once fully adapted, your eyes can detect objects roughly one thousand times dimmer than in daylight. Even if you have every specification on your binoculars explained, such as exit pupil, coating tier, and glass grade, your optics still act only as light funnels. Those funnels are effective only if the rod cells waiting to receive that light are fully awake.
The catch is that a single exposure to bright white light instantly bleaches the chemical in your rod cells. If you look at a phone screen, a street lamp, or a white flashlight for even two seconds, you completely reset the clock. You have to wait another twenty minutes in the dark to get your night vision back.
Key point: Binoculars cannot compensate for pupils that are contracted from looking at a bright screen. Protecting your dark adaptation is the single most important technique in backyard astronomy.

Multi-coated lenses and BaK-4 prisms deliver sharp, color-accurate images across a 5.6 degree field of view, with large 50mm objectives gathering ample light for bright, detailed views in any lighting condition. The rubber-armored polycarbonate body is waterproof, nitrogen-purged, and tripod-adaptable for steady extended sessions. Backed by a Celestron Limited Lifetime Warranty and US-based support.
Check On AmazonIf you click this link and buy, we earn a commission at no additional cost to you.
The Pre-Session Stargazing Protocol
Because the environment is pitch black, getting your gear ready requires a different approach than daytime wildlife watching. You cannot fiddle with focus wheels or read instruction manuals once you step outside. Everything must be prepared in advance.
The very first thing you must do is set the diopter on your binoculars. The diopter corrects the visual difference between your left and right eye. You need to do this while the sun is still up, or at least by focusing on a distant streetlamp down the road before your session begins. Trying to properly adjust a diopter by looking at a tiny point of starlight in a black sky is incredibly frustrating. If you need a refresher on the mechanics of getting the center wheel and right eyepiece balanced, you should review exactly how to use binoculars before your first night session.
Next, consider thermal acclimation. If you take room-temperature binoculars out into a cold night, the lenses will instantly fog up, and dew can form on the glass. Leave your binoculars outside in a secure spot for twenty to thirty minutes before you start observing so they can equalize with the ambient temperature.
Once your optics are dialed in and acclimated, you need to manage your light environment. Check your location first. If you live under heavy city lights, even adapted eyes will struggle. I recommend checking a light pollution map online to find a local park or field away from direct streetlamps. Turn off all exterior house lights. If you need to read a star chart, use a red flashlight. Red light has a much longer wavelength than white light and does not trigger the chemical reset in your rod cells. If you rely on a stargazing app on your phone, you must dig into the app settings, turn on the dedicated red-light night mode, and then turn your phone brightness down to the absolute minimum.
| Timeframe | Action Required |
|---|---|
| T-minus 60 minutes | Focus binoculars on a distant daylight object and lock in the diopter setting. |
| T-minus 30 minutes | Set binoculars outside to acclimate to the outdoor temperature and prevent lens fogging. |
| T-minus 25 minutes | Turn off all house lights. Put phone away or switch to red-light mode only. |
| T-minus 20 minutes | Step outside and sit in the dark. Allow eyes to adjust. Do not look at streetlights. |
| T-minus 0 minutes | Begin observing the night sky. |
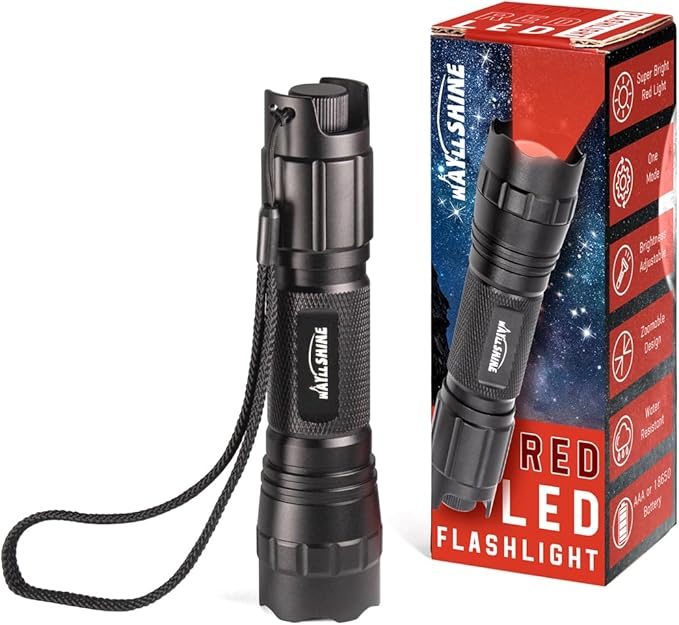
This 620 to 630nm true red LED flashlight offers stepless brightness adjustment from 100% down to 5%, preserving dark-adapted night vision for astronomy, aviation chart reading, and wildlife observation without startling animals. The tail-button control allows smooth, continuous dimming for precise light output in any situation. Compatible with three AAA batteries or one 18650 rechargeable battery, neither of which is included.
Check On AmazonIf you click this link and buy, we earn a commission at no additional cost to you.
Managing Shake and Stability
The second biggest hurdle in binocular astronomy is image stability. During the day, a slight hand tremor while looking at a bird is annoying but manageable. At night, that same tremor turns a crisp star into a dancing, blurry streak of light across your lenses.
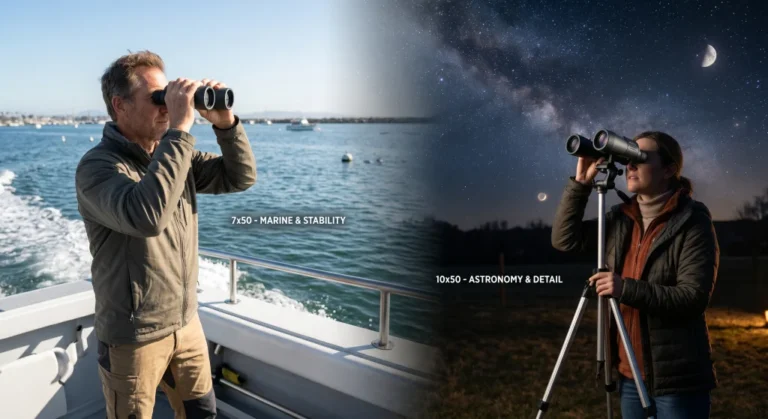
If you are using a 7×50 configuration, you can generally manage the weight and magnification by hand. You just need to recline in a lawn chair and brace your elbows against your ribcage. The lower magnification keeps the image relatively steady. However, if you step up to a 10×50 or a 12×50, handheld stargazing becomes an exercise in frustration after about five minutes. Your arms will fatigue, your heartbeat will transfer to the lenses, and faint objects will become impossible to resolve.
Standing straight up in the middle of the yard, neck craned backward, trying to hold heavy 10×50 binoculars steady against the sky.
Sitting deep in a reclining zero-gravity chair, elbows firmly braced against armrests, or mounting the optics directly to a tripod.
For any serious observation of star clusters or lunar details at 10x magnification, you need mechanical support. Look at the front hinge of your binoculars between the objective lenses to check for a small threaded socket. If your pair has one, you are ready to mount. To understand exactly how to put this setup together, read our specific guide on how to use binoculars on a tripod. Mounting your optics completely transforms the experience, removing all human vibration so your brain can process the faint details of deep-sky objects.
If you find yourself constantly fighting the weight and shake, it might be time to step back and evaluate your gear. Exploring our guide to binoculars for stargazing can help you find a magnification that better suits your observing style, or you can read up on what 10×50 means to understand the exact trade-off between power and stability you are working with.

This powder-coated steel frame chair features a double-bungee support system with weather-resistant Textilene fabric and a padded headrest for a weightless, stress-free recline. The locking reclining mechanism transitions smoothly from upright to fully reclined with legs raised, supporting up to 300 lbs across a 26 by 43.3 inch footprint. Lightweight and folds flat for easy transport to the beach, campsite, or backyard.
Check On AmazonIf you click this link and buy, we earn a commission at no additional cost to you.
What to Look For First
Many beginners point their binoculars at a random patch of sky, see a few extra stars, and quickly get bored. To get the most out of your session, you need specific targets. You are not looking for Hubble Space Telescope images. You are looking for subtle, beautiful structures that are invisible to the naked eye.
Start your night with the right expectations and a short list of reliable targets.
- The Pleiades (M45): Also known as the Seven Sisters. To the naked eye, it looks like a tiny, blurry smudge in the winter sky. Through dark-adapted eyes and 10x binoculars, it erupts into dozens of brilliant, icy blue stars. It is arguably the best binocular target in the entire sky.
- The Andromeda Galaxy (M31): This is the closest major galaxy to our own. It is millions of light-years away. You will not see spiral arms. You will see an elongated, glowing gray oval of light against the black background. Finding it is a rite of passage.
- Jupiter and its Moons: When Jupiter is prominent, point your binoculars at it. You will see a bright disc, but if you hold perfectly steady, you will see up to four tiny pinpricks of light lined up next to it. Those are the Galilean moons.
- The Moon: The Moon is spectacular through binoculars, revealing craters and deep shadows along the terminator line. However, the Moon is incredibly bright. Looking at it will instantly ruin your dark adaptation for faint galaxies. Always save the Moon for the very end of your observing session.
The Averted Vision Technique: When you finally locate a faint object like the Andromeda Galaxy, do not stare directly at it. Instead, look slightly off to the side of it while keeping it in your field of view. The center of your retina is packed with daylight-loving cone cells, which are effectively blind in the dark. The periphery of your retina is packed with the light-sensitive rod cells. By looking slightly away from the target, you shift the faint light onto the most sensitive part of your eye, making invisible smudges suddenly appear brighter. This is the most powerful technique in observational astronomy, and mastering it changes what you are capable of seeing.

This glow-in-the-dark planisphere lets you instantly identify visible constellations for any date and time, paired with seasonal star charts marking the best deep-sky objects across all four seasons. Printed on heavy card stock with a protective overcoat for years of durability, with spiral binding that lays completely flat for easy field use. Designed for use in the Northern Hemisphere only.
Check On AmazonIf you click this link and buy, we earn a commission at no additional cost to you.
Final Thoughts: Trust the Process
Stargazing with binoculars is an exercise in patience. The sky does not give up its secrets to people who are in a rush. If you take the time to prepare your gear before sunset, rigidly protect your night vision, and give your eyes the mandatory twenty minutes to adjust, the night sky will open up to you.
The difference between a frustrating night and a spectacular one rarely comes down to spending another five hundred dollars on premium glass. It comes down to turning off your porch light, putting your phone in your pocket, and letting your eyes do the work they were biologically designed to do.
FAQs
🔭 How do I keep my hands steady while using binoculars for astronomy?
The best handheld method is to sit in a reclining lawn chair and brace both elbows firmly against your chest or the armrests. If you are using 10x magnification or higher, you should highly consider purchasing a cheap L-bracket adapter to mount your binoculars to a standard camera tripod.
📱 Can I use stargazing apps on my phone while observing?
You can, but only if you dive into the app settings and activate the red-light night mode, and then turn your screen brightness to the lowest possible setting. Any exposure to white or blue light from your screen will instantly destroy your night vision for the next twenty minutes.
🌟 What are the best stargazing tips for finding faint objects with binoculars?
Use the averted vision technique. Instead of staring directly at the faint object in your lenses, look slightly off to the side of it. This shifts the light to the edge of your retina, which contains more light-sensitive rod cells, making the faint object appear brighter.
📖 Do I need to buy expensive equipment to see galaxies?
No. A standard pair of 10×50 binoculars is fully capable of showing you the Andromeda Galaxy, provided you are away from heavy city light pollution and you have allowed your eyes to properly dark-adapt before looking. If you aren’t sure if your current pair is up to the task, read through our binoculars for stargazing guide to see exactly what specifications perform best in the dark.